
Last updated on May 9th, 2024 at 10:36 am
As you are aware a LAMP stack means the server has Linux as Operating System and installed with Apache Web Server, MySQL Database and PHP for processing dynamic content. We can easily set these services up and running on an Ubuntu 24.04 Noble Numbat LTS and start deploying your PHP application. Let us dive deep in to how to install Apache, MySQL, PHP stack on Ubuntu 24.04
- How to install Install Apache
- Install MySQL
- Install PHP
- Test Landing Page
- Test Database Connectivity
Prerequisites – Make sure you have root privileges and firewall is disabled. I am using AWS EC2 Instance and UFW is disable by default in those AWS provided default AMI’s. Make sure port 80 is accessible publicly by modifying your AWS Security Group that is attached to the EC2 Instance.
How to install Install Apache
First thing first, update the package and run the install command
$ sudo apt update
$ sudo apt install apache2
Run the curl command to test Apache is up and running
$ curl -I localhost
HTTP/1.1 200 OK
Date: Tue, 07 May 2024 18:49:38 GMT
Server: Apache/2.4.58 (Ubuntu)
Last-Modified: Tue, 07 May 2024 18:43:21 GMT
ETag: "29af-617e18f682738"
Accept-Ranges: bytes
Content-Length: 10671
Vary: Accept-Encoding
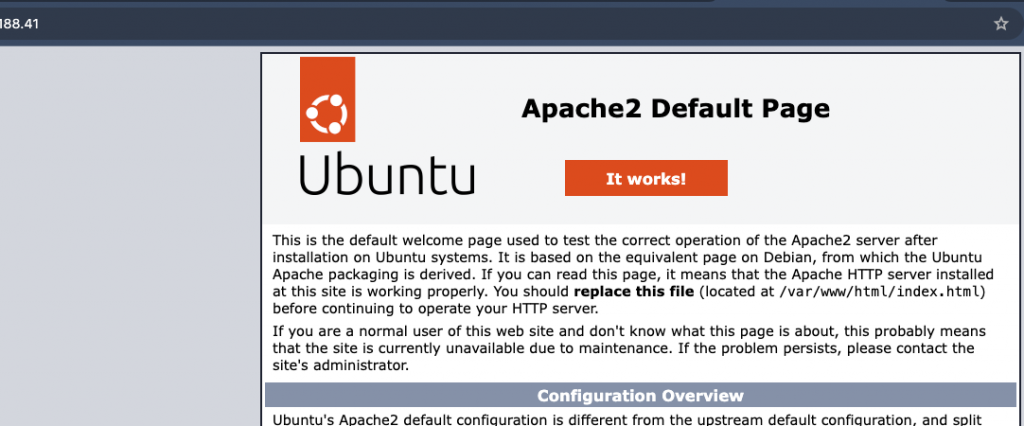
Content-Type: text/htmlYou can also hit the public IP of the server to test whether it is publicly accessible. You should see a page like below when you access the server via web browser.
Install MySQL
We have the webserver ready, now let us set up a MySQL database system to store data for your website.
$ sudo apt install mysql-serverLogin to the MySQL server and add verify things are working fine
$ sudo mysql
Welcome to the MySQL monitor. Commands end with ; or \g.
Your MySQL connection id is 8
Server version: 8.0.36-2ubuntu3 (Ubuntu)

Copyright (c) 2000, 2024, Oracle and/or its affiliates.

Oracle is a registered trademark of Oracle Corporation and/or its
affiliates. Other names may be trademarks of their respective
owners.

Type 'help;' or '\h' for help. Type '\c' to clear the current input statement.

mysql> quit
Bye
Everything looks good and I am able to login to the MySQL server. As you can see we have not set password for MySQL user, lets do that and secure it
$ sudo mysql

mysql> ALTER USER root@localhost IDENTIFIED WITH mysql_native_password BY 'mynewmysqlpassword';
Query OK, 0 rows affected (0.04 sec)

mysql> quit
Bye
Let us verify the new password is working or not
$ mysql -u root
ERROR 1045 (28000): Access denied for user 'root'@'localhost' (using password: NO)
$ mysql -u root -p
Enter password:
Welcome to the MySQL monitor. Commands end with ; or \g.
Your MySQL connection id is 10
Server version: 8.0.36-2ubuntu3 (Ubuntu)

Copyright (c) 2000, 2024, Oracle and/or its affiliates.

Oracle is a registered trademark of Oracle Corporation and/or its
affiliates. Other names may be trademarks of their respective
owners.

Type 'help;' or '\h' for help. Type '\c' to clear the current input statement.

mysql> quit
Bye
Now let us run the mysql_secure_installation, I haven’t changed anything and left most of them as default. Made sure to disallow remote Root login.
$ sudo mysql_secure_installationSecuring the MySQL server deployment.
Enter password for user root:
VALIDATE PASSWORD COMPONENT can be used to test passwords
and improve security. It checks the strength of password
and allows the users to set only those passwords which are
secure enough. Would you like to setup VALIDATE PASSWORD component?
Press y|Y for Yes, any other key for No:
Using existing password for root.
Change the password for root ? ((Press y|Y for Yes, any other key for No) :
… skipping.
By default, a MySQL installation has an anonymous user,
allowing anyone to log into MySQL without having to have
a user account created for them. This is intended only for
testing, and to make the installation go a bit smoother.
You should remove them before moving into a production
environment.
Remove anonymous users? (Press y|Y for Yes, any other key for No) :
… skipping.
Normally, root should only be allowed to connect from
'localhost'. This ensures that someone cannot guess at
the root password from the network.
Disallow root login remotely? (Press y|Y for Yes, any other key for No) : y
Success.
By default, MySQL comes with a database named 'test' that
anyone can access. This is also intended only for testing,
and should be removed before moving into a production
environment.
Remove test database and access to it? (Press y|Y for Yes, any other key for No) : y
Dropping test database…
Success.
Removing privileges on test database…
Success.
Reloading the privilege tables will ensure that all changes
made so far will take effect immediately.
Reload privilege tables now? (Press y|Y for Yes, any other key for No) : y
Success.
All done!Install PHP
By default it installed PHP 8.3.9 at the time of writing this tutorial.
For this we are install php binary along with libapache2-mod-php, a module that enables Apache to send request to PHP and helps Apache to display the response from the PHP interpreter.
$ sudo apt install php libapache2-mod-php php-mysql
$ php -v
PHP 8.3.6 (cli) (built: Apr 15 2024 19:21:47) (NTS)
Copyright (c) The PHP Group
Zend Engine v4.3.6, Copyright (c) Zend Technologies
with Zend OPcache v8.3.6, Copyright (c), by Zend Technologies
Test Landing Page
Change landing page from index.html to index.php
If you would like to change the landing page of a directory to index.php, modify this file named dir.conf
$ cat /etc/apache2/mods-enabled/dir.conf
DirectoryIndex index.html index.cgi index.pl index.php index.xhtml index.htm
And add index.php as shown below
$ cat /etc/apache2/mods-enabled/dir.conf
DirectoryIndex index.php index.html index.cgi index.pl index.php index.xhtml index.htm
Now go to this path /var/www/html and create a file named index.php with this content
$ cat index.php
<?php phpinfo(); ?>
$
Restart the webserver for the changes to take effect, as you can see if you want index.php to be served from a directory that has both index.html as well as index.php files then make sure you add the index.php as the first one in the list (as shown above)

Test Database Connectivity
Let us create a simple database in MySQL and add a table with some content. Once that is done lets use PHP to connect to that table and display it on web browser.
mysql> CREATE DATABASE myusers;
Query OK, 1 row affected (0.06 sec)
mysql> use myusers;
Database changed
mysql> CREATE TABLE user (
-> ID int,
-> Name varchar(255),
-> Address varchar(255),
-> City varchar(255)
-> );
Query OK, 0 rows affected (0.05 sec)
mysql>
I created a Database named myusers and added a table inside that with the name user. Let us insert some data
mysql> INSERT INTO user(ID,Name,Address,City) VALUES (1,'Matt Dough','1st Avenue','NewYork');
Query OK, 1 row affected (0.01 sec)

mysql> INSERT INTO user(ID,Name,Address,City) VALUES (2,'John Doe','2nd Street','Washington DC');
Query OK, 1 row affected (0.00 sec)

mysql> select * from user;
+------+------------+------------+---------------+
| ID | Name | Address | City |
+------+------------+------------+---------------+
| 1 | Matt Dough | 1st Avenue | NewYork |
| 2 | John Doe | 2nd Street | Washington DC |
+------+------------+------------+---------------+
2 rows in set (0.00 sec)

mysql>
Validate MySQL data using PHP
Here is the code I used to connect to database we just created, lets name the file view_data.php
Let us add this code to that file,
<?php
$servername = "localhost";
$username = "root";
$password = "mynewmysqlpassword";
$dbname = "myusers";
$table = "user";

// Create connection
$conn = mysqli_connect($servername, $username, $password, $dbname);
// Check connection
if (!$conn) {
  die("Connection failed: " . mysqli_connect_error());
}

$sql = "SELECT * FROM $table";
$result = mysqli_query($conn, $sql);

if (mysqli_num_rows($result) > 0) {
  // output data of each row
  while($row = mysqli_fetch_assoc($result)) {
    echo "id: " . $row["ID"]. " - Name: " . $row["Name"]. " Address: " . $row["Address"]. " City : " . $row["City"]. "<br>";
  }
} else {
  echo "0 results";
}

mysqli_close($conn);
?>
Load the page in browser and you will see the result.
