Last updated on June 22nd, 2022 at 02:27 pm
In this tutorial we will deep dive in to how to establish connection between Python Flask and MySQL . In order to make things simpler lets do a step by step approach
- What is Flask Python?
- Install flask extensions to connect to MySQL
- Connecting to MySQL using Flask
- Display result from MySQL using jinja
What is Flask Python?
Flask is a Micro Web framework, this basically means that it simply accepts HTTP request, route HTTP request to appropriate resource and return HTTP response. It is written in Python and supports extensions. For example Flask-Mail extension provides SMTP set up for your application to send email. Flask-Login is another extension that can be used to provide user session management for Flask. Like any package installation we do for Python this can be easily done by using PIP/PIP3 commands. We are going to talk more about installing extensions in the next session.
Check this tutorial on how to install flask . If you are wondering how to configure flask behind nginx, this is the easiest way to do it.
Install flask extension to connect to MySQL
For Flask to connect to a MySQL database we need to have flask-mysqldb installed. All you have to do is run the command below, assuming that you have pip3 installed.
Note: Starting with Python 3.4, it is included by default with the Python binary installers. Otherwise check this document.
pip3 install flask-mysqldb
Some common errors while running the command is
OSError: mysql_config not found "mysql_config not found" -
To fix this issue make sure to install this package. ( I am using Ubuntu ). Once done try the pip3 command again.
sudo apt install libmysqlclient-dev
There are also other extensions available like flask-mysql, it is up to you to decide which one to use.
Connecting to MySQL using Flask
Now comes the interesting section, connecting a Flask Application to MySQL database. For that I am going to provide you with a very basic code which connects to a MySQL database.
from flask_mysqldb import MySQL
from flask import Flask
app = Flask(__name__, template_folder='/var/websites/template')
app.config['MYSQL_HOST']='localhost'
app.config['MYSQL_USER']='USER'
app.config['MYSQL_PASSWORD']='PASSWORD'
app.config['MYSQL_DB']='DATABASE'
mysql=MySQL(app)
@app.route("/")
def connect_db():
    try:
        cur=mysql.connection.cursor()
        data="Connected"
    except:
        print("Error connecting to database. Check credentials")
        data="Not Connected"
    return data
if __name__ == "__main__":
    app.run()
As you can see it is a pretty straight forward code. We are defining MySQL credentials and just checking whether the Flask application is able to connect or not. Here is the sample output from the application log when passing wrong MySQL credentials.
127.0.0.1 - - [15/Jun/2022 17:21:32] "GET /HTTP/1.1" 200 -
Error connecting to database. Check credentials
Display result from MySQL using Jinja2
In order to view data from MySQL in HTML format we can use render_template function based on jinja2.
My templates are stored in location /var/websites/template and for displaying the results from MySQL I have a HTML file named table.html located inside the template directory.
The complete Python code, name it app.py
from flask_mysqldb import MySQL
from flask import Flask,render_template
app = Flask(__name__, template_folder='/var/websites/template')
app.config['MYSQL_HOST']='localhost'
app.config['MYSQL_USER']='USER'
app.config['MYSQL_PASSWORD']='PASSWORD'
app.config['MYSQL_DB']='DATABASE'
mysql=MySQL(app)
@app.route("/")
def connect_db():
    try:
        cur=mysql.connection.cursor()
        cur.execute("SELECT * from pagination")
        output = cur.fetchall()
    except:
        print("Error connecting to database. Check credentials")
        output="Not Connected"
    return render_template('table.html',data=output)
if __name__ == "__main__":
    app.run()
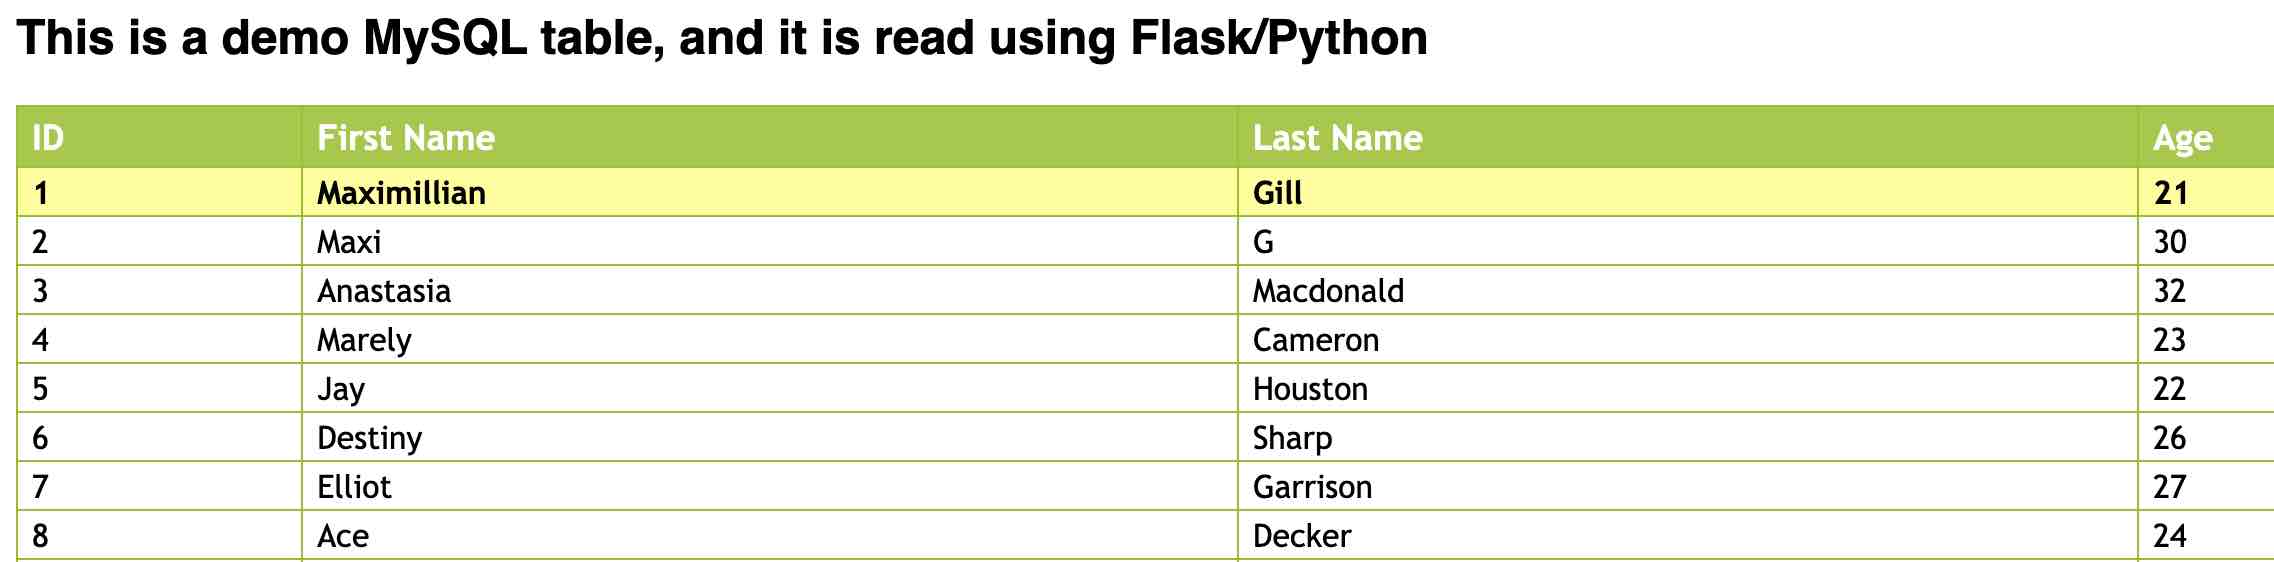
Note: The database I am using here is same as explained in this tutorial . It has 4 fields ID,FirstName, LastName and Age.
For displaying the results I am using for loop as shown below, data is the variable passed from the Flask Python application. Since it has 4 fields we have item[0] – item[3]
{% for item in data %}
<tr>
	<td>{{item[0]}}</td>
	<td>{{item[1]}}</td>
	<td>{{item[2]}}</td>
	<td>{{item[3]}}</td>
	</tr>
	{% endfor %}
Complete table.html with CSS
<style>
body{
padding:0;
font-family:'Droid Sans',sans-serif
}
#users {
    font-family: "Trebuchet MS", Arial, Helvetica, sans-serif;
    width: 100%;
    border-collapse: collapse;
}

#users td, #users th {
    font-size: 1em;
    border: 1px solid #98bf21;
    padding: 3px 7px 2px 7px;
}

#users th {
    font-size: 1.1em;
    text-align: left;
    padding-top: 5px;
    padding-bottom: 4px;
    background-color: #A7C942;
    color: #ffffff;
}

#users tr.alt td {
    color: #000000;
    background-color: #EAF2D3;
}

#users tr:hover td{
font-weight: bold;
          background-color: #ffff99;color: #000;;
        }

</style>
<h2>This is a demo MySQL table, and it is read using Flask/Python</h2>
<table id="users"><tr><th>ID</th><th>First Name</th><th>Last Name</th><th>Age</th></tr>{% for item in data %}
<tr>
	<td>{{item[0]}}</td>
	<td>{{item[1]}}</td>
	<td>{{item[2]}}</td>
	<td>{{item[3]}}</td>
	</tr>
	{% endfor %}
</table>