Last updated on March 22nd, 2024 at 01:24 pm
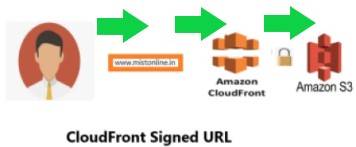
In this tutorial we will walk through steps involved in generating a signed URL for CloudFront and how to prevent CloudFront URL from being access directly, this means a user can access this signed URL only from the domain you need. S3 bucket and other details will be completely hidden from the end user.
- Step 1 Create a S3 bucket and upload test objects
- Step 2 Create a CloudFront distribution with S3 origin
- Step 3 Generate public/private keys and create Key groups
- Step 4 Modify Behavior and Create signed URL
- Step 5 Restrict direct access to CloudFront signed URL
Before we jump on to the steps I assume that you are having basic understanding of AWS S3 & CloudFront and how to navigate console/services. Take a look at this to get some background around how AWS works. I will not be diving deep in to basic steps of what S3 and CloudFront does.
Step 1 Create a S3 bucket and upload test objects
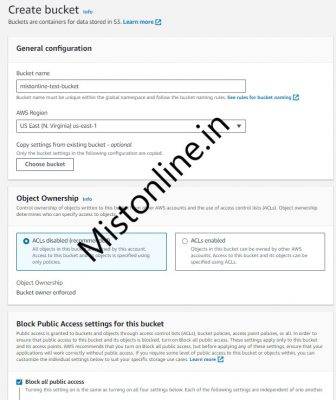
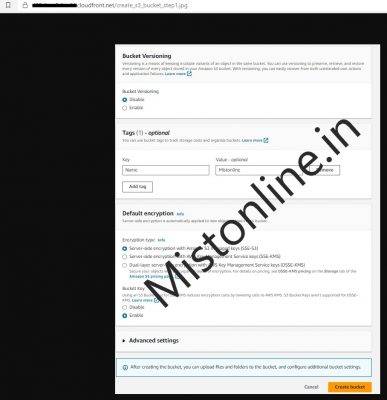
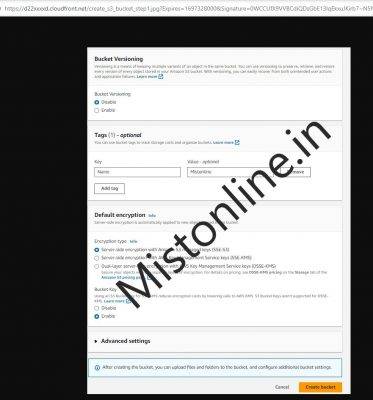
Create an S3 bucket in any region of your choice. I am using US-East-1 and upload the objects that your website users will be accessing.
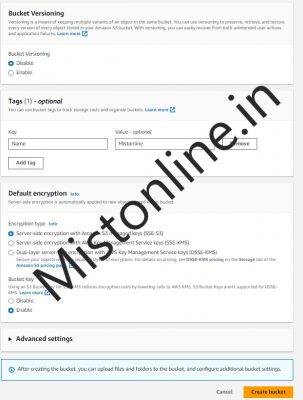
I have created an S3 bucket with the name mistonline-test-bucket as shown below with default options checked. Haven’t changed anything except added a Tag as you can see.
Please create a S3 bucket of your choice and give it some name that is unique
Now lets upload some files, I am going to upload images.
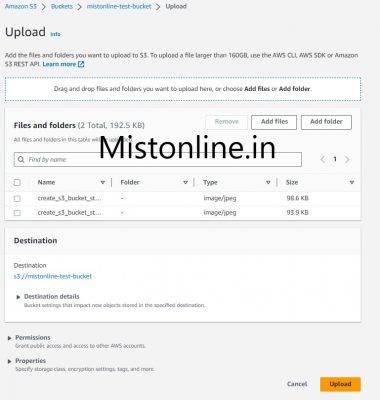
Now we have a bucket named mistonline-test-bucket ready with no public access and 2 image files as objects
Object names are
- create_s3_bucket_step2.jpg
- create_s3_bucket_step1.jpg
Step 2 Create a CloudFront distribution with S3 origin
Go to CloudFront console and click Create distribution. In that under Origin domain select the S3 bucket we created in Step 1, in my case it is mistonline-test-bucket
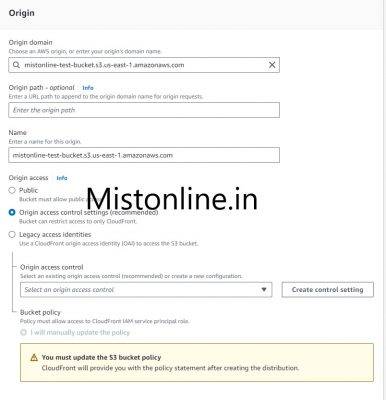
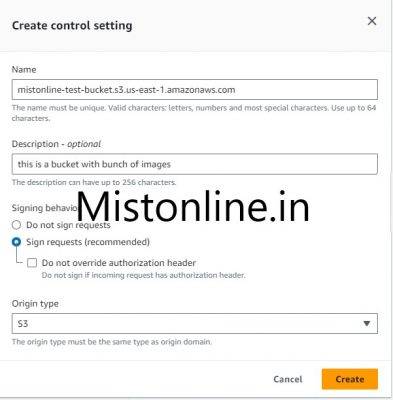
Click on Create control settings
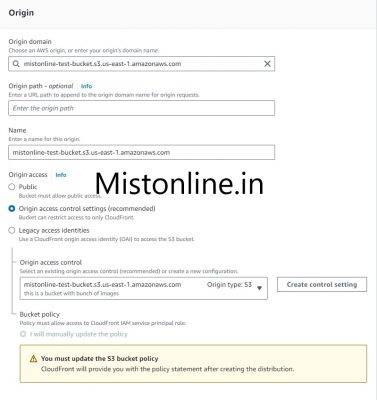
Make sure under Origin access you select Origin access control settings (recommended). The final selection should look similar to the screenshot below.
Ignore notice in the page (as you see in the above screenshot) which says
You must update the S3 bucket policy
CloudFront will provide you with the policy statement after creating the distribution.
Under Default cache behavior section I am going to leave everything default.
Under Web Application Firewall (WAF) section I select “Do not enable security protections”
Click on Create distribution button and you should get a similar page like below
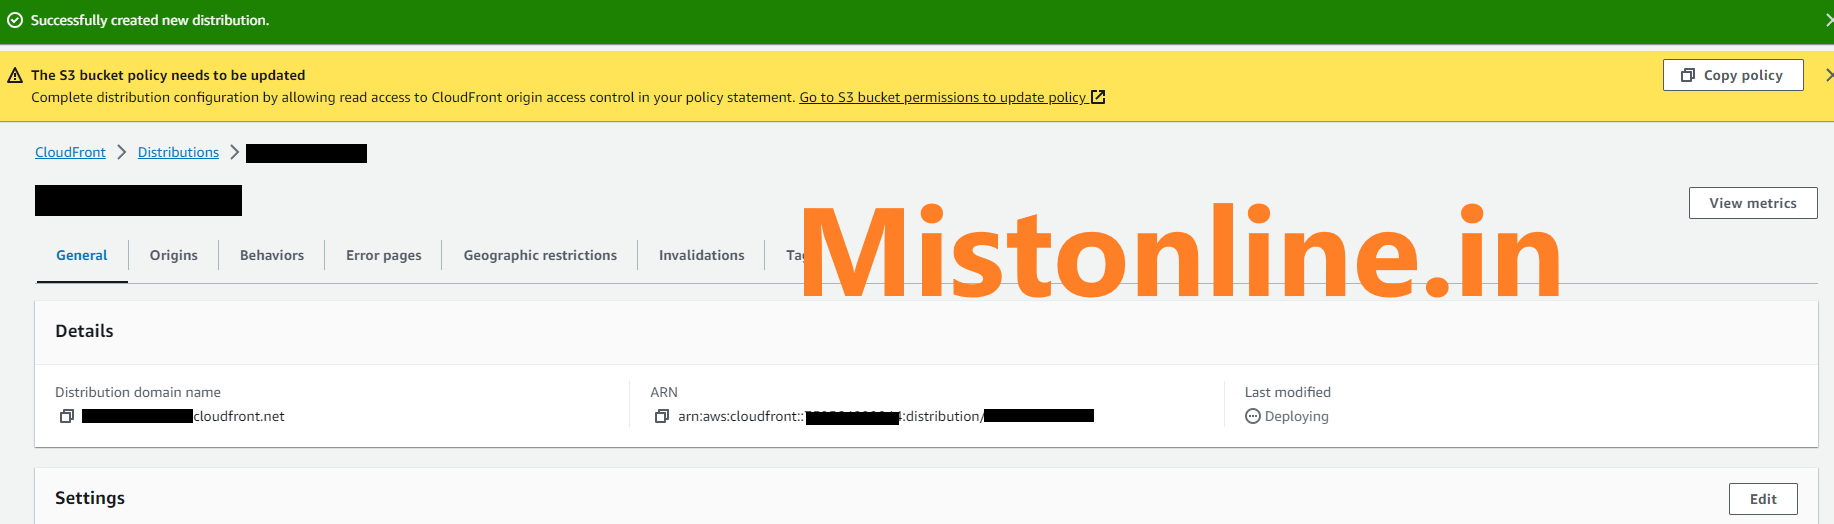
The status if the distribution will be Deploying and you will see a button which says “Copy policy” just click there to get the policy copied.
Now if by any chance you moved on by clicking something else or closed the browser window no problem there is a way to get the s3 policy. All you have to do is go to the CloudFront console, under
Distribution(click the one you created) > Under Origin (TAB) > Select ORIGIN and Click EDIT > Scroll down and you will see a similar “Copy Policy” button
Go to your S3 bucket and Under “Permission” tab click on the EDIT button in Bucket policy section. Add the policy

We have now created successfully CloudFront origin talk to S3 bucket and load the object. You can verify that by using the Distribution domain name along with the object name in the S3 bucket as shown.
Step 3 Generate public/private keys and create Key groups
Easy way to generate public/private keys will be using AWS CloudShell. By doing this just for the sake of generating public/private keys we don’t have to spin up a server/EC2 etc., .
If you have windows and putty you may also use that but make sure keys are in PEM, More details on generating keys can be found in AWS documentation website.
If using CloudShell, install openssl first by running “sudo yum install openssl”
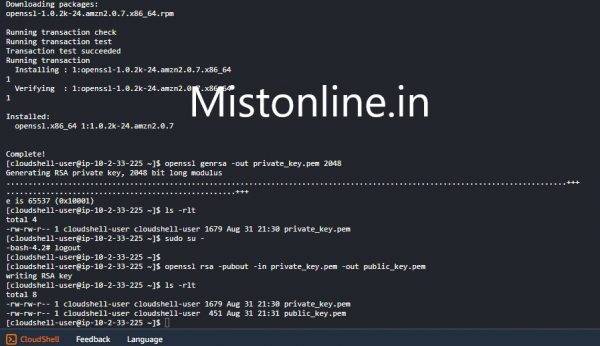
$ openssl genrsa -out private_key.pem 2048
$ openssl rsa -pubout -in private_key.pem -out public_key.pem
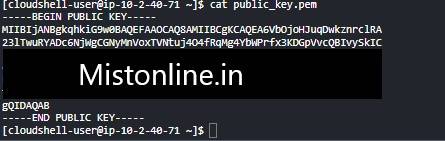
Now use cat command to view the content of the public_key.pem file.
If you are using CloudShell to generate keys make sure to download them locally as you need these keys to generate signed URL in the future. CloudShell comes with 1 GB of persistent storage for your home directory, per Region.
For doing that inside CloudShell console , Click on the Action > Download File > Provide the complete path of the file to download.
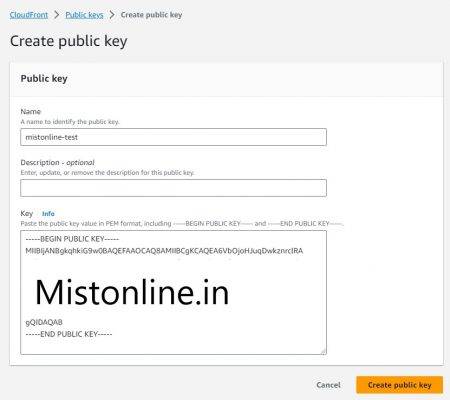
Now that we have the keys lets go to Public Keys inside CloudFront console and create one as shown. Make sure to paste the public key and click on Create public key button.
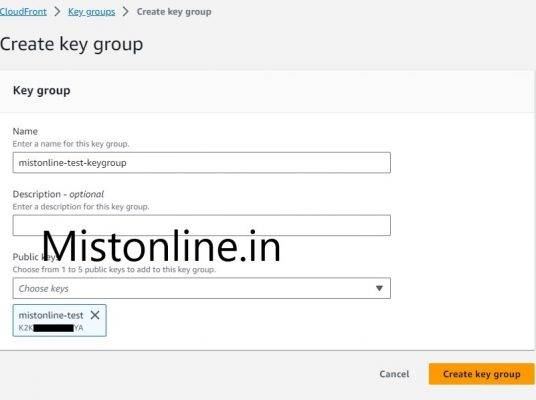
Go to Key Groups and create a Key group by specifying the public key we just created above.
Step 4 Modify Behavior and Create signed URL
Let us now go inside to CloudFront distribution we created in Step 1 , Click on the Behaviors tab and select the default (only one behavior will be there), then click EDIT
Under Restrict viewer access select “Yes” option and make sure you add the Keygroup we created in Step 3. In my case it is mistonline-test-keygroup
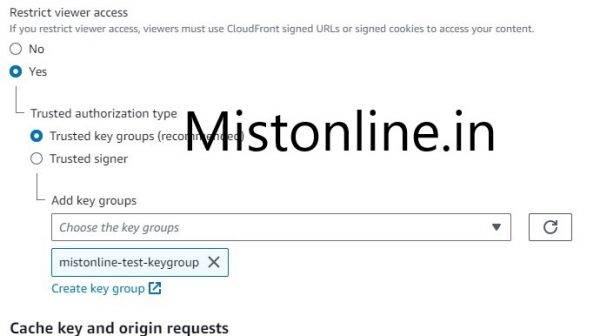
Click on Save Changes
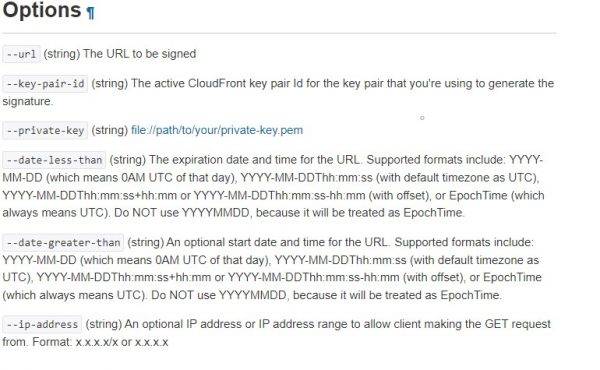
Let us now create signed URL using AWS CLI, there is a command line option to sign CloudFront URL which is pretty straight forward.
Output below is truncated.
https://us-east-1.console.aws.amazon.com/cloudfront/v3/home?region=us-east-1#/publickey will take you to the page with the Key Pair ID (switch to your region).
[cloudshell-user@ip-10-2-40-71 ~]$ aws cloudfront sign --private-key file://private_key.pem --key-pair-id K2KXXXXXYA --date-less-than 2023-10-15 --url https://d22xxxxd.cloudfront.net/create_s3_bucket_step1.jpg

https://d22xxxxd.cloudfront.net/create_s3_bucket_step1.jpg?Expires=1697328000&Signature=0WCCUfX9VVBCdiQDsGbE13lqEkxuJKirb7~N5NCV4i8bMNbYZJFFp6gojexHio~3RNA0ha7iLv-LvNxcUOeZtvL-OzUW6rdJ0Rp8ktssF6i3tDcxCAeaDEM-ucRXLCJkT5aHq-sLME6HaYN1YO3VCpHVedr04CUnfLqtS48ZR2Kc~ixlsATTGLdoBGNH~2~hPHxXFPqtxUVUr2sujaS1YPSbuamrPi2hcOvY-CPxf0s1Frt8R8~s0mP5y7dN8Q__&Key-Pair-Id=K2KXXXXXYA

[cloudshell-user@ip-10-2-40-71 ~]$
Now I am going to try this URL from browser
Note that : I used AWS CLI for signing just because that suits my usecase and it is pretty straight forward. If you would like to use Canned or Custom policy check this out https://docs.aws.amazon.com/AmazonCloudFront/latest/DeveloperGuide/private-content-creating-signed-url-canned-policy.html
Step 5 Restrict direct access to CloudFront signed URL
The recommended method is to use WAF or Lambda@Edge to prevent direct access to CloudFront signed URL. But there is also a less efficient method (not sure whether this works for your specific use case) but for my requirement this approach was working like a charm.
It is done by forwarding Referer header to the S3 bucket from CloudFront and using S3 policy to validate whether the Referer match the domain requested.
In the CloudFront distribution console, Click on the distribution that we created, Under Behaviors tab and select the default (only one behavior will be there), then click EDIT
Scroll down to section “Cache key and origin requests“, select “Include the following headers” and add Referer as shown below.
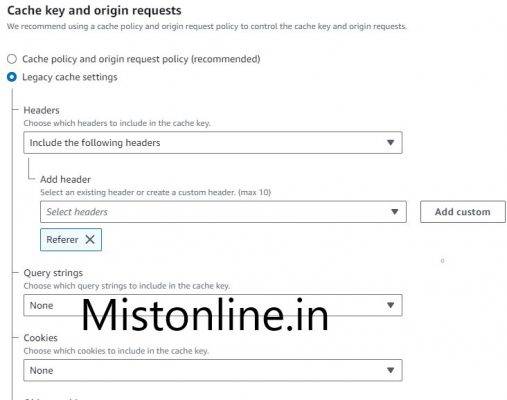
Once done “Save Changes“
Now we have enabled CloudFront to forward Referer header to origin, in our case it is S3
Last step is to update the S3 Bucket policy, Go to the bucket we created in Step 1 and under Permission tab > Bucket Policy click EDIT
{
    "Version": "2008-10-17",
    "Id": "PolicyForCloudFrontPrivateContent",
    "Statement": [
        {
            "Sid": "AllowCloudFrontServicePrincipal",
            "Effect": "Allow",
            "Principal": {
                "Service": "cloudfront.amazonaws.com"
            },
            "Action": "s3:GetObject",
            "Resource": "arn:aws:s3:::mistonline-test-bucket/*",
            "Condition": {
                "StringEquals": {
                    "AWS:SourceArn": "arn:aws:cloudfront::xxx:distribution/ExxB"
                },
                "StringLike": {
                    "aws:Referer": [
                        "https://mistonline.in/",
                        "https://www.mistonline.in/"
                    ]
                }
            }
        }
    ]
}
Replace bucket name and also the SourceARN according to your settings.
Under the aws:Referer modify the domain name as per your requirement. This means that only domain mistonline.in can access the CloudFront signed URL and direct access will give Access Denied. Check this URL for lot of other examples https://docs.aws.amazon.com/AmazonS3/latest/userguide/example-bucket-policies.html
I hope this tutorial will atleast get you started with Signed URL’s and other features it comes with. Feel free to comment if you have any questions.